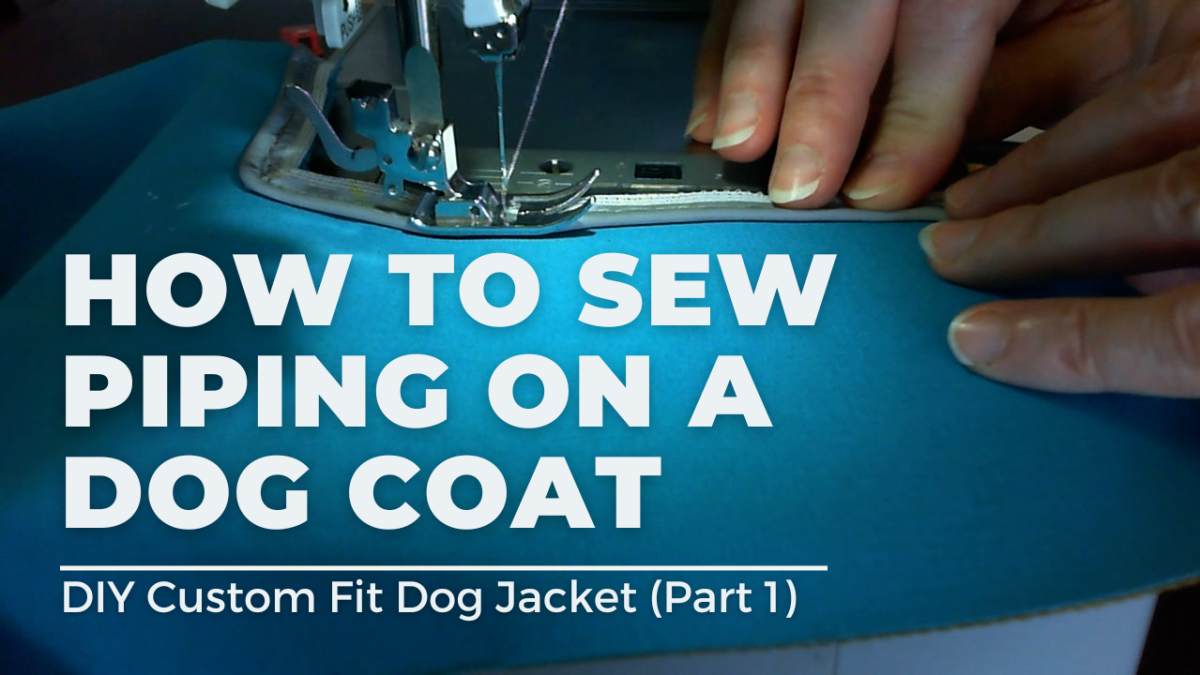
How to Sew Piping on a Dog Coat: Step-by-Step Guide for a Custom Fit Jacket
 Jill Bartlett
Learn how to sew piping on a custom-fit dog coat with this step-by-step guide! Perfect for DIY pet clothing. Create a stylish and durable finish!
If you're looking to create a custom fit dog coat that is stylish, durable, and functional, adding reflective piping is a fantastic way to achieve a professional finish. Whether you're making a warm winter coat with fleece lining or a lightweight spring jacket, piping enhances both durability and visibility—perfect for nighttime walks! In this guide, we'll take you through the step-by-step process of sewing piping onto a dog coat, ensuring smooth curves and seamless edges.
If you prefer a visual guide, check out the full video tutorial here: https://youtu.be/T1KdenNll1I.
Why Add Piping to a Dog Coat?
Piping is more than just a decorative element—it provides structure and reinforcement to the coat's edges, preventing fraying and ensuring longevity. If you choose reflective piping, it also increases visibility, making it a great safety feature for nighttime walks.
Materials You’ll Need:
Dog coat fabric (waterproof outer fabic, fleece, or mesh for lining)
Reflective piping
Matching and contrasting thread
Sewing machine
Clips or pins
Tailor’s chalk
Scissors and stitch ripper
Step-by-Step Guide to Sewing Piping on a Dog Coat
1. Preparing the Fabric and Piping
Before attaching the piping, cut your fabric according to the pattern. Ensure that all edges are clean and aligned. When selecting piping, reflective piping is ideal for outdoor use as it helps to make your dog more visible in low light. But you can also choose one that complements the coat’s material.
2. Attaching Piping to the Collar
Start by clipping or pinning the reflective piping to the right side of the collar fabric.
Align the raw edges of the piping with the fabric edge.
Use matching thread on the top spool and contrasting thread in the bobbin—this helps when sewing the lining in place.
Sew the piping in place, following the basted thread line of the piping.
For outside corners, snip the white lining of the piping slightly to help it bend smoothly.
Sew around three sides of the collar, leaving the bottom edge without piping.

3. Adding Piping to the Body of the Coat
Clip or pin the piping along the edges of the coat’s body.
Begin at the left bottom edge, ensuring you start on a flat section without curves.
Leave about 2 inches (5 cm) of piping loose at the beginning to allow for a neat finish at the end.
Sew along the piping, carefully wrapping around each corner.
Use tailor’s chalk to mark corner placements and notch the piping slightly to maintain smooth curves.

Start sewing the piping about 2" (5 cm) from the start to give room for finishing the piping. 
Cut a notch out of white lining to allow the piping to fold around inside corners.
4. Finishing the Piping for a Seamless Look
When you near the end stop sewing and overlap the piping by about 1.5 inches over the beginning.
Remove the stitches from the basted thread line to where the overlap starts, exposing the inner piping cord.
Trim the cord and white lining to perfectly meet the piping beneath it.
Fold the fabric edge of the piping over by ½ inch to cover the raw edge.
Use a stitch ripper to help hold the fold in place before sewing the final section.
Secure with a few backstitches for extra durability.

Stop sewing about 1-2" (2.5-5cm) before where you started 
Slip the folded end over the start and tuck the piping inside for a neat finish.
That's It for the Piping! Next Steps for Your Dog Coat
Congratulations! You’ve successfully sewn reflective piping onto your dog’s coat, completing the first stage of the project. Your coat now has a polished, structured, and durable finish, and the piping adds both aesthetic appeal and extra safety. Next, you'll move on to sewing in the lining to bring your custom dog coat one step closer to completion!
Where to Find the Cozy Coat Pattern & Video Tutorial
If you’d like to make your own Cozy Coat, check out the full dog coat sewing pattern and step-by-step video tutorials:
📌 Get the Cozy Coat Pattern: 🔗 https://www.thankdogwemadeit.com/courses/category/patterns
📌 Watch the Full Video Course: 🔗 https://www.thankdogwemadeit.com/courses/first-dog-coat
📌 Watch the Step-by-Step Video for This Tutorial: 🔗 https://youtu.be/T1KdenNll1I
📌 More Sewing Tutorials & Tips: 🔗 https://www.thankdogwemadeit.com/
Join the Community!
✨ Found this guide helpful? Be sure to check out my YouTube video and like, share, and subscribe for more sewing tips! 📢 Follow Jill for step-by-step sewing tutorials, pattern-making tips, and DIY pet fashion inspiration.
Stay Tuned for Part 2: Sewing the Coat Together!
Categories: : Sewing
Get a Step-By-Step Guide and Workbook
Do you need help measuring your dog? Download my 4 Steps to Fit Your Dog Guide and Workbook and I’ll walk you through the step by step process to take all the measurements you need to make a simple dog coat your dog will love! There's even a video you can watch that shows you exactly how to do it!
Join My Mailing List
Sign up to be the first to know about exclusive offers, free tutorials, and new product updates.
I have read and agree to the terms & conditions.

